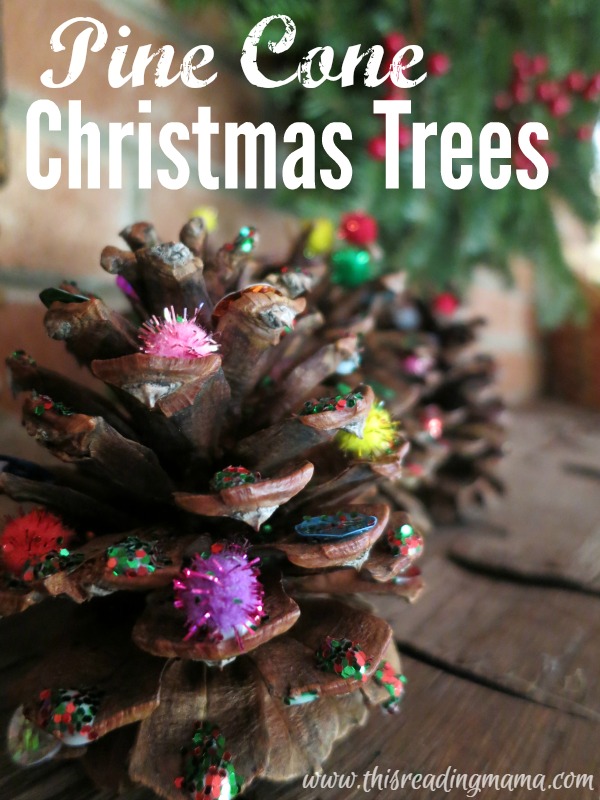
Confession: craft time probably doesn’t happen often enough in our home. But this time of year has a way of bringing out the “crafter” in me. So, as my son and I were admiring the large pine cones under a neighbor’s tree the other day, I thought pine cone Christmas trees! We could totally do that!
*This post contains affiliate links.
Instead of taking my neighbor’s pine cones, I decided to purchase them from our local craft store. The bonus is that the pine cones at the store smell SO Christmas-y, making it a sensory craft as well.
For this pine cone craft, you’ll need:
- pine cones {these are like the ones I bought}
- glue {the kind you have to squeeze works best}
- “ornaments” for the tree- we used small, sparkly pom-poms {or regular}, sequins, and/or glitter
- wax paper – my kids decorating their “Christmas trees” on top of the wax paper for easy clean up
- cookie sheet for containing glitter {as if containing glitter is really possible}
Pine Cone Christmas Trees: Step-by-Step
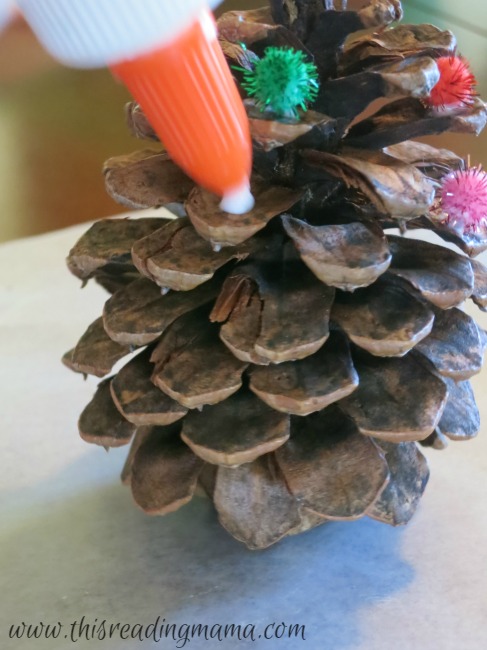
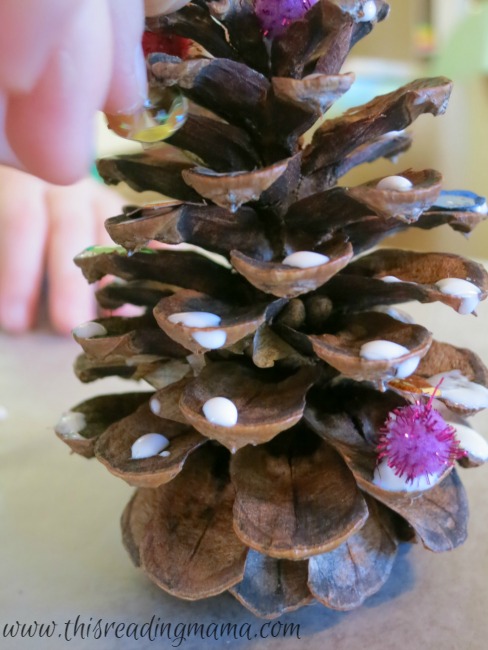
1. The first thing the kids did was squeeze the glue onto the “branches” of the pine cone. Only a small amount of glue is needed. I know it seems quite simple, but the muscles used to squeeze the glue are the same fine motor ones needed for holding a pencil to write, which equals BONUS!
2. Next, the kids “decorated” the pine cone Christmas trees by adding “ornaments” of pom-poms and sequins. This was also another great way to practice some fine motor control, as the space to add the pom-poms and sequins was small.
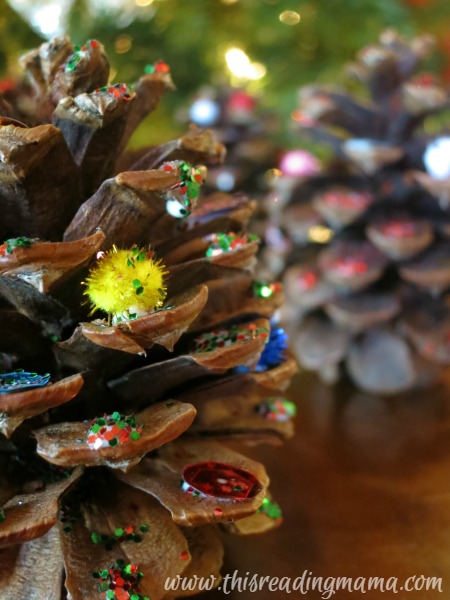
3. After the tree had it’s “ornaments”, we carefully moved their tree onto a cookie sheet lined with wax paper and they sprinkled glitter onto their pine cone to add a little more “bling.” I could only find our red and green glitter, but any color would work. I think silver would be pretty to make it look like snow.
4. We let them dry and placed them out to enjoy {at a safe distance!} Not only do they look beautiful, they smell great as well!
More Christmas Fun:
- Torn Paper Christmas Trees
- Christmas Pre-K/K Pack
- Christmas Tree Cut it Out! Pack
- Nativity Pattern Block Mats
- Nativity Pre-K/K Pack
Stay connected to This Reading Mama so you don’t miss a thing:
- Subscribe by email {get really cool FREEBIES when you do!}
- Google+
~Becky


Leave a Reply