Welcome back to Simple Writing Lessons for Primary Grades, a series from The Measured Mom and me! Our goal has been to SHOW you some simple ways that you can teach writing to your child…from brainstorming a topic and now, to editing.
If you’re new to the series, feel free to click HERE to read the introduction and visit all the topics thus far.
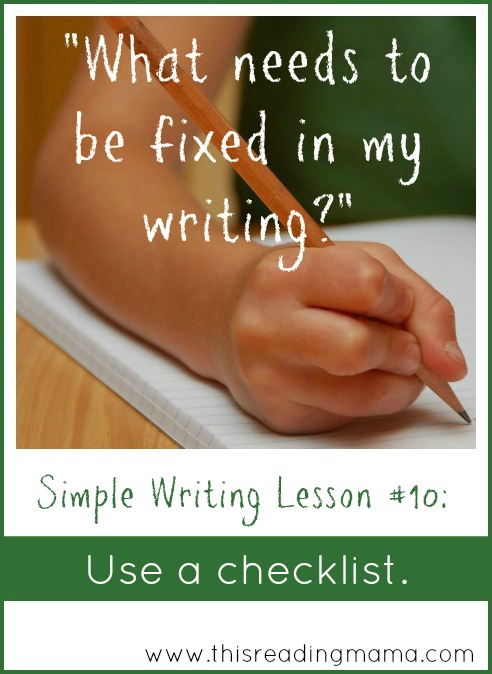
Simple Writing Lesson #10: Use a checklist to edit {an editing strategy}
When kids write their draft, they inevitably make mistakes. And I’m okay with mistakes in the drafting stage. I make them sometimes, too. 😉 Some common mistakes that kids make in their drafting stage are wrong use of capital letters, punctuation, and misspellings.
Before the child moves on to the publishing stage of writing, these mistakes need to be fixed.
There are several reasons that I don’t let mistakes stay in the piece when it’s published, but the three main reasons are:
1- this piece may very well be used a resource for later spellings, writings, and readings and I want it to have integrity for his use,
2- correct conventions and spelling are a courtesy to the reader, and
3- the editing process is an authentic way to teach grammar and conventions.
Editing can be pretty dry and boring, but I do love that when writing is taught as a craft, the child’s mistakes are addressed within the context of the child’s writing. This makes learning the concepts of editing more authentic and meaningful for the child {much more so than a ditto sheet}. But as young writer looks at his writing, he might wonder:
“What needs to be fixed in my writing?”
How to teach it:
1) Prepare your materials.
- Your child should have his or her rough draft, ready for editing.
- Prior knowledge of correct conventions {for example, your child needs to have a basic knowledge of where capital letters or punctuation should go within this writing genre}
- Editing Checklist {use our free C.U.P.S. editing checklist}
- A colored pencil or marker
2) Introducing the Editing Checklist.
“You’ve been working very hard on your duck story.” {This organizer was first introduced with my son’s Duck on a Tractor story, a spin-off of David Shannon’s Duck on a Bike}. “I love how creative you’ve been with your writing and think you’ve picked a great story to take on to publish. But before we publish, we want to make sure the piece is completely ready.
“I have created this checklist. You’re going to use a checklist to edit your work. It will help you look back through your story again to make sure you correct the mistakes before you move forward with it.
And we’re not fixing mistakes ‘just because’. Our writing has great meaning and a purpose. If we don’t correct our mistakes, it could distract our reader. The reader may have a harder time understanding our purpose and meaning. And you’ve worked WAY too hard to let that happen.” {He smiles.}
I went through each of the steps in the checklist explaining and demonstrating {using a couple examples from each} with his writing how he can use his colored marker to correct his mistakes. I like using a colored marker or pencil because it helps the corrections stand out from the original rough draft.
- C is for Capitalization: Find places in your writing where you should have used capital letters and did not. Find places in your writing where you used capital letters and you don’t need them. {Write over top of them with your colored marker}.
- U is for Understanding: Are there still any places that might be confusing to your reader? Will others understand what you wrote? Is your message clear? Even though you and your child have already revised the writing, there may be other places you and your child see fit to change again. {Write what needs to be added or cross out what you don’t need with your marker.}
- P is for Punctuation: Find places in your writing where you need punctuation or places where you put it and don’t need it. {Use your marker.}
- S is for Spelling: Go through your work and circle words that you think you may have misspelled. If they are sight words or phonics patterns we’ve studied, correct them. {Write the correct spellings with your marker.} You may also want to use The Measured Mom’s free spelling dictionary.

3) Ask the child to edit his work.*
“Now, it’s your turn to be the editor. Start with C is for Capital letters. Can you find places in your writing where you need to use capital letters or places where you used a capital letter when you didn’t need one?” {On the first day, I did not ask him to do all four steps. I divided it up into two days.} On day two, I led him through each of the remaining steps of the editing checklist.
*Note that my child may not correct ALL of his mistakes…and that’s okay. When a “real” author goes to publish his book, he will edit his work to the best of ability before sending it to his editor. When the editor starts his job, he doesn’t call the author and make a teaching lesson out of every mistake the author didn’t correct. I treat my young writer the same. When my child is unable to find the word’s correct spelling, I step in and provide it. When my child misses a punctuation mark or two, I might mention it if it’s appropriate. But otherwise, I take a final look at the piece and make a final edit before it’s time to publish.

To help young writers keep track of their editing {especially if the process is divided up between days}, they write C.U.P.S at the top of each page of the rough draft. As they edit that page for each letter, they check off that letter.
4) Wrap up the lesson.
“So now, you have your very own editing checklist.” {I hang it near his desk where he can see it. You could also put in in your child’s writer’s notebook.} “Every time you’re ready to publish, you can work through the C.U.P.S. list and edit your writing.”
I know full well that my young writer may still need my guidance to do this the next time or two. And when we studied writing a friendly letter, the rules of capitalization and punctuation “changed” just a bit, so I stepped in to model this.
 All in all, the writing process can be quite messy! This was his rough draft after we went through it. Note that I have him write his rough draft on every other line so we have a place to write during the revision and editing process.
 To download my FREE C.U.P.S. Editing Checklist, click the image below or HERE.
This is the 10th lesson in a 12-part series for Primary Grades. Click HERE or the image below to view more simple writing lessons.

~Becky
Comments
Trackbacks
-
[…] Editing Strategy: Use a Checklist to Edit (This Reading Mama) […]
This is a wonderful checklist of ways to look back at writing!
Great lesson on editing. I love your CUPS idea, and will be using it with my daughter. Lately, however, she does most of her writing in school, and I hope that her teacher is using a similar approach.
I want to start by saying that your blog looks great! My name is Martin and I’m a teacher from Canada. I just started a new website called Resources4teaching where educators can buy and sell lessons and educational resources. We are new and are looking for people to join and put up their materials for sale on our website. We are having an iPad draw for the first 100 Vendors who join and upload at least 1 lesson /resource for sale on our website. There are absolutely no fees to join and you earn royalties of 70%. You can visit us at: http://www.resources4teaching.com
I also created the Resources4teaching forums where educators can discuss education. Feel free to join us and start sharing your best practices and strategies.
If you know any other teachers who might be interested in this Website, please forward this to them and if you have any questions, feel free to message me.
Have a great day
I really enjoy all the materials for my reading groups, it keeps it interesting for the children.
🙂