
Today, I’m sharing some more than thirty homeschool hacks you can use to save time, money, and effort as you teach your children at home.
Let’s face it. Teaching your child(ren) at home isn’t the easiest job in the world. At least it hasn’t been for me. Maybe I’m the only one who is always looking out for ways to make it easier to juggle it all…homeschool hacks if you please.
*Note: This post was originally on my blog, This Reading Mama, hence the watermarks on some photos.

**I am a participant in the Amazon Services LLC Associates Program, an affiliate advertising program designed to provide a means for me to earn fees by linking to Amazon.com and affiliated sites.

30+ Homeschool Hacks
1. Integrate the toys already own into schoolwork. Use what your child enjoys and make it work for you, like we do with our LEGO letters and playdough.
2. Use carpet squares to define floor space for kids to work or read in. Most carpet stores have free carpet squares they are willing to give away.
3. Display a Left Hand and Right Hand on the wall around your flag. This will teach kids which hand needs to go over their heart.
4. Use old socks for erasing dry erase boards.

5. Use plastic sleeve protectors to extend the life of a workbook or in place of laminating pages.
6. Go online and hold books at the library. Instead of trying to find the books you need for teaching while juggling toddlers as they run around and push all the books off the shelf {this has NEVER happened to me before}, go online and hold the books you need. Most libraries have a hold section. You can run in, pick them up when they are ready, and have a better eye on that wild toddler!

7. Get kids to do the work whenever possible. For example, when we got our Alphabet Letter Tiles, the tiles were both lower and upper case. My two preschoolers sorted the letters for me as upper case or lower case. It served as a lesson for them on letters as well as did the work for me of organizing the letter tiles! {a 2 for 1}
8. Use a Lazy Susan to display school supplies. {Suitcases and Sippy Cups}
9. Use your space wisely. When you don’t have a lot of space, use a science board {Weird, Unsocialized Homeschoolers}, use back of furniture to display boards, or create a PVC pocket chart stand like you see in my homeschool room photos.

10. Buy a cheap globe. It’s no secret that a globe can be expensive! Find one at a yard sale or buy an inflatable globe.
11. Use playdough to create quick puzzles for kids. It’s super cheap and you can adapt the puzzle any way you’d like!
12. Display books in a dish drainer! How creative! {Free Homeschool Deals}
13. Rotate toys. It doesn’t have to be fancy or cost a lot of money, but rotating out different toys at different times helps kids feel like they are getting something new and they tend to play with toys longer…great for occupying toddlers!
14. Find items you can use from your kitchen. A cookie sheet makes a great magnetic surface for magnetic letters or numbers. Muffin tins and ice trays make great sorting containers.
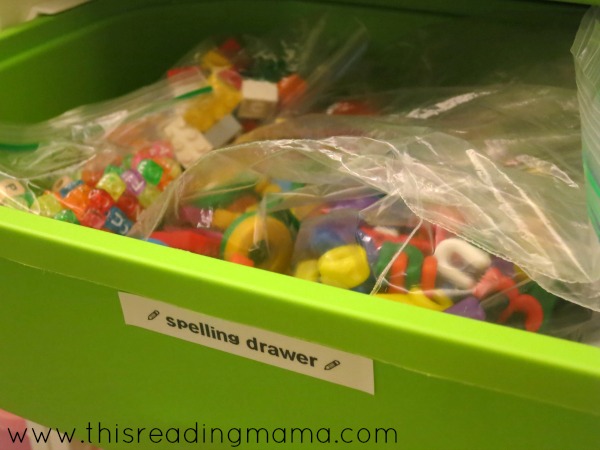
15. Make learning supplies accessible so kids can find what they need when they need it without needing to ask you. The supplies I make accessible are hands-on spelling tools, pattern blocks and other math manipulatives we use a lot, paper, scissors, sharpened pencils, glue, and tape.
Our IKEA TROFAST storage unit is perfect for this. Carisa of 1+1+1=1 even has some school supply labels ready to print and go if you need them!
16. Set up a routine that helps them become more independent workers, like workboxes. {123 Homeschool 4 Me}
17. If you have young tots, store small manipulatives or other items {like dry erase or Sharpies} up high and out of reach! Trust me when I say it will save your sanity and your couch from permanent marker!! I like to use magnetic containers similar to this to store our things up high on our magnetic dry erase board.
18. Use the “draft mode” on your printer to save ink and use black and white whenever you can, too. This saves me TONS of ink when I’m printing things from online.
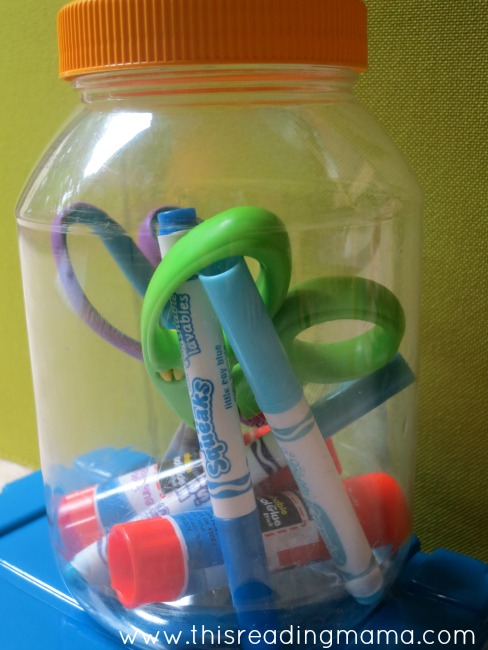
19. Use an old {washed out} peanut butter or mayonnaise jar to store school supplies when you need to school on the go. You can see right through them and you can screw the lid on. There are more examples of this in my Toddler Activities post.
20. Store all your school/craft supplies on the back of your door in a shoe organizer. {I Can Teach My Child}
21. Buy your own laminator. Believe me. I didn’t want to “fork out” the money for one, but the Scotch Laminator is not expensive and it has lasted me 5+ years already. I love it! For bigger jobs, take it to your teacher store and pay for lamination by the foot.
22. Keep simple notebooks. We have a few notebooks we keep. Our most popular one is probably our Handwriting Notebooks. These make for a quick and easy activity to pull out and work on all in one place.
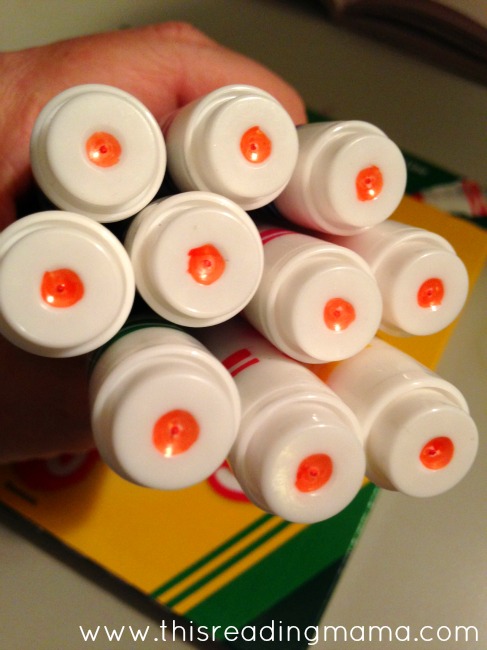
23. Color-code the bottom of your markers. This was a trick I learned from Jolanthe of Homeschool Creations: Use sharpie to color-code the school supplies of your kids. Now, when these markers are lost, I’ll know that it belongs to my “orange” kid.
24. Store manipulatives in clear plastic bags and hang them so you can quickly see what you need to get to as you implement a lesson. {Small Potatoes}
25. Use an activity more than one way to get the most uses out of it, like Carisa of 1+1+1=1 shows with her Alphabet Mazes.

26. Buy a timer. {This timer is my favorite kind of timer because it helps kids visually see how much time they have left.} Teach older kids how to use it so they can keep track of the time they need to spend on certain tasks, like quiet reading time or computer time.
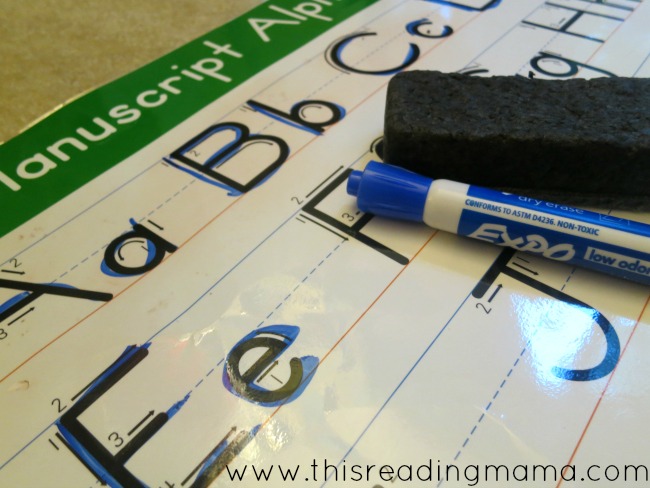
27. Laminate posters and use them as hands-on teaching tools, like we sometimes do with our Manuscript Alphabet poster.
28. Use spice racks to display books on your wall. {Little Gems}
29. Re-use old puzzle pieces for other learning activities. For example, I kept our wooden alphabet puzzle well beyond my kids’ preschool years to help with handwriting and putting things in ABC order.
30. Have older siblings read to younger siblings. This works well to build the bond between siblings, but also is a great way to get older struggling readers to read “too easy” content and reading with fluency.
31. Rotate your schedule so that you are not always introducing new material in every subject on the same day. For example, if you like the idea of week-long activities {or centers}, instead of starting them on Monday, start them on Wednesday and run them until Tuesday of the following week. This helps to keep a good mix of work kids need to do with you and independent work.
For more homeschool ideas, visit these series by clicking on the images below:
Enjoy homeschooling!
~Becky

Leave a Reply