Are you using our short vowel books from our Learn to Read Curriculum? I often get questions on how to assemble them, so here’s a dedicated page to help!

*Please read this post carefully before you email me, as most of your answers will be in this tutorial. Thanks!
**I am a participant in the Amazon Services LLC Associates Program, an affiliate advertising program designed to provide a means for me to earn fees by linking to Amazon.com and affiliated sites.
How to Print & Assemble your Word Family Books
1. Save the file to your computer.
2. Open the file with the free, updated Adobe Reader.
3. From Adobe Reader, print just the word family pages from the file front to back* on cardstock**.

*Once opened up, print the book pages front to back, making sure you check “flip on short edge.” If you miss this step, the pages will not print correctly!
**I use cardstock because it’s less flimsy and the color doesn’t bleed through. If you want to laminate the book, that would make it even more durable and kids can also mark in it with dry erase marker.
4. Stack the FLAT pages on top of each other, making sure your pages will be in the correct order when they are folded down the center in landscape orientation. They WILL NOT be in order unless you put them in order!
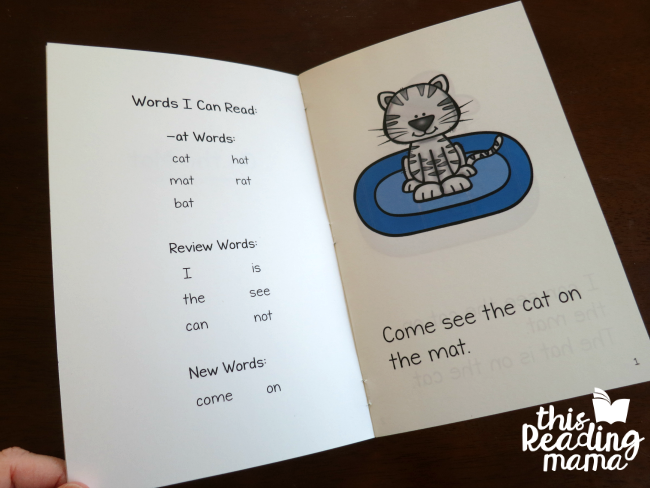
When it’s stacked AND folded correctly, your book will be in this order:
- The front cover with a blank page on the back
- A title page with “Words I Can Read” on the back
- The pages of the story in order 1-6, page numbers are at the bottom of each page
- One extra page at the back of the book with “www.thisreadingmama.com” and the word family featured under it
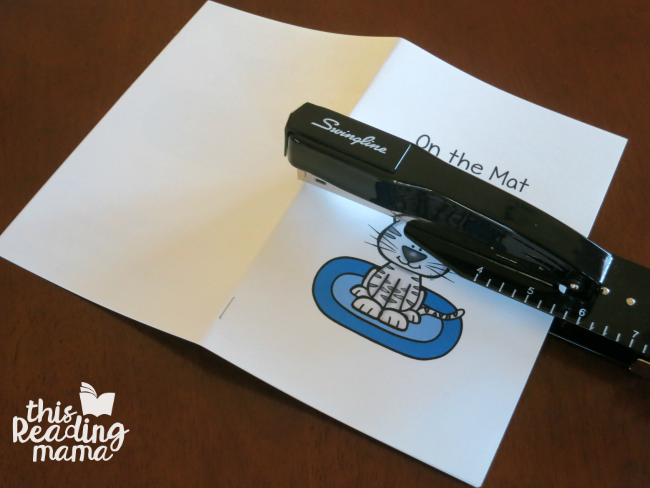
5. Staple the book together with a long-armed stapler to create the book look.
I hope that helps clear up some confusion when it comes to printing and assembling the books.
Grab a copy of our FREE Word Family Books OR
get the ENTIRE Learn to Read BUNDLE!
Enjoy teaching!
~Becky