Three years ago, ALuv (currently 7 years old) and I made leaf place mats together from the leaves in our yard. Every year, when the leaves being to change color, he starts asking, “When are we going to make leaf place mats this year?”
This year was no different. But this time, I made it more of a challenge! He not only collected leaves from around our yard, but he had to identify the kind of leaf it was, labeling them on his place mat. And here’s how we did it:
Materials for Leaf Place Mats
- contact paper (2 sheets per mat), you could also use wax paper
- fall leaves
- a Sharpie
Leaf Hunting
We collected as many different kinds of leaves as we could from around our yard. If there are still leaves left on your trees, you could also do a natural leaf sort. Then, we had to do some online research to make sure we had the correct names for our leaves.
Crafting the Leaf Place Mat
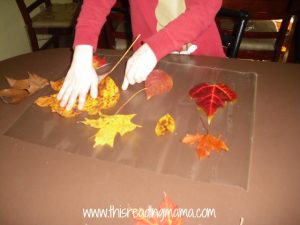 We laid the leaves out on the sticky side of the contact paper,
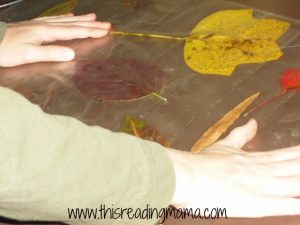 covered it with the other sheet of contact paper,
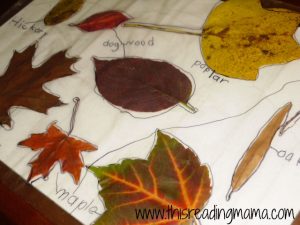 then got busy labeling each kind of leaf. (All together, we had two kinds of maple, two kinds of oak, gum, dogwood, hickory, & poplar.) This was a great way to sneak in some science, handwriting, and research…hehe.
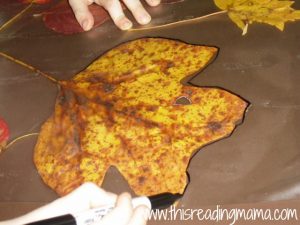 NJoy (currently 4 years old) wanted to make his own mat as well. Once his mat was put together, he enjoyed tracing around his leaves and writing his name. (You can also view how ALuv did this activity last year.)
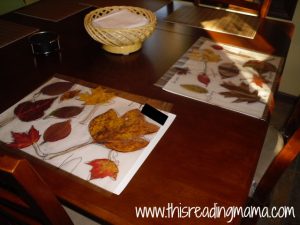 The mats will last a good month (if they’re well taken care of) and they look so festive on our kitchen table
Love this idea! We have a bunch of leaves just waiting for a fun craft like this!
Go for it! 🙂
This is such a neat idea! How fun! I’m going to show my daughter-I think she’d love doing it!
Becky, I so love your blog and I have shared many of your freebies with my staff. Keep writing!
Thank you, Carlolyn! That means A LOT coming from you. 🙂